使用mpvue重构个人小程序(九)下拉刷新
前面有几节已经提到过下拉刷新,本节,再详细的归结一下。
一、配置
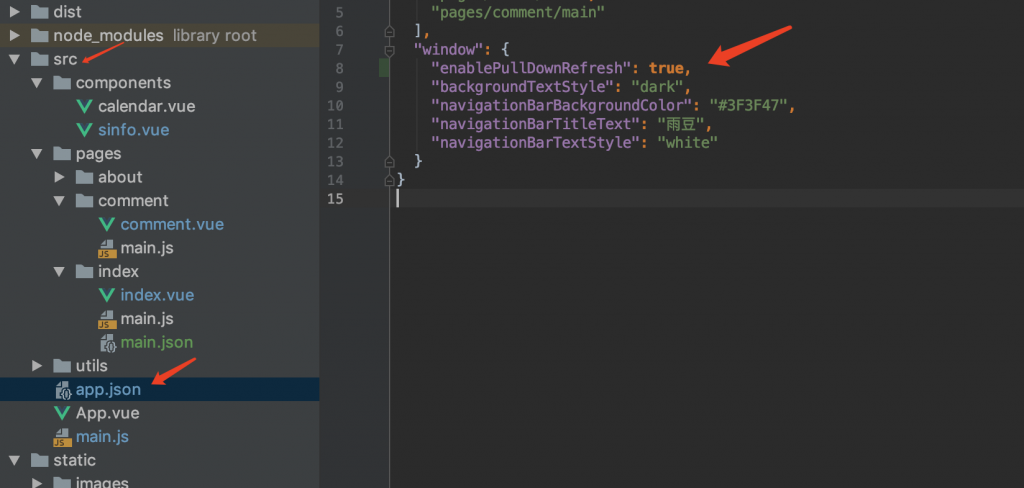
1、全局配置
1 | "enablePullDownRefresh": true, |
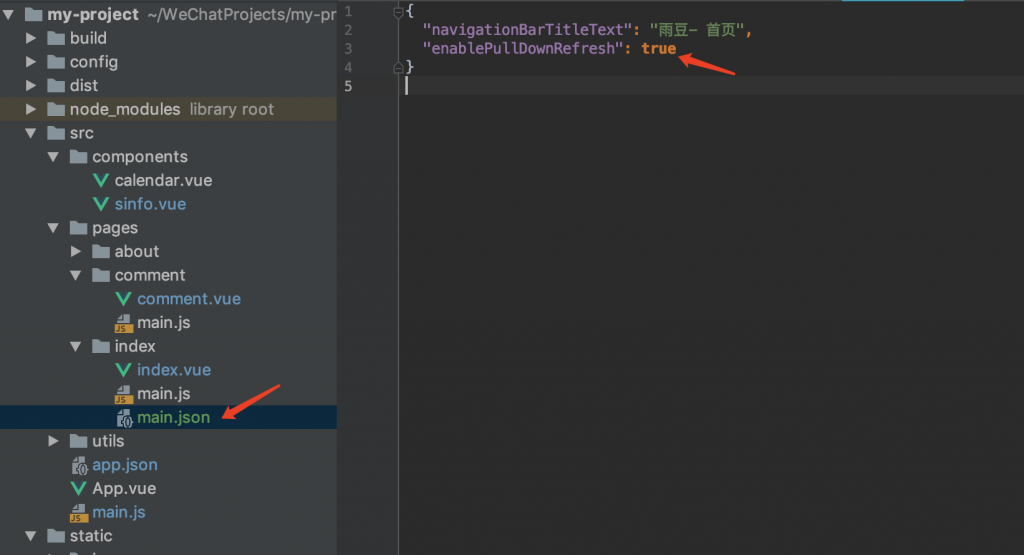
2、单独页面局部配置
没有main.json 自己新建一个即可。
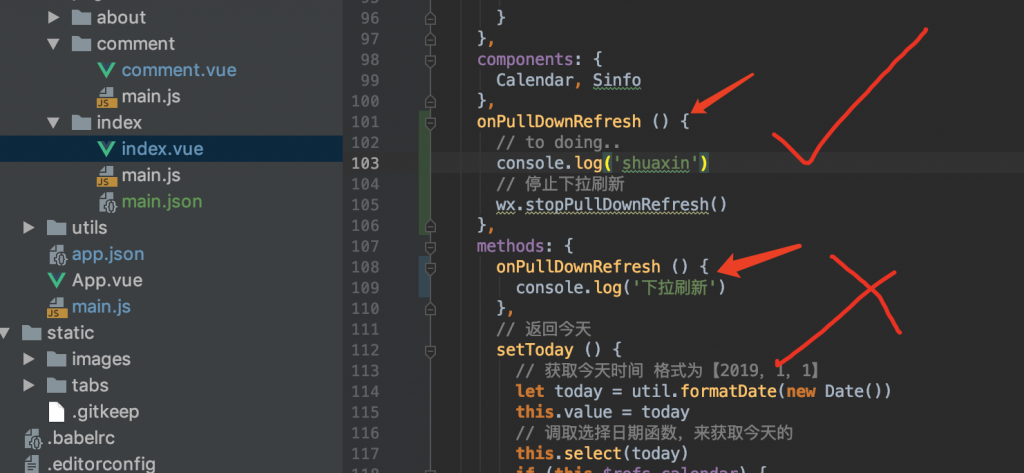
二、使用
和methods 平级使用
1 | onPullDownRefresh () { |
模板中使用也是如此:
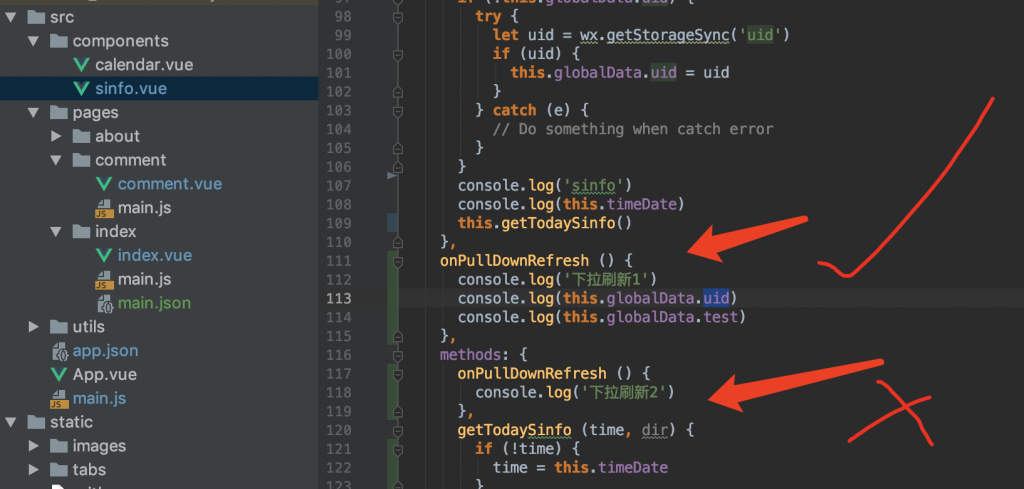
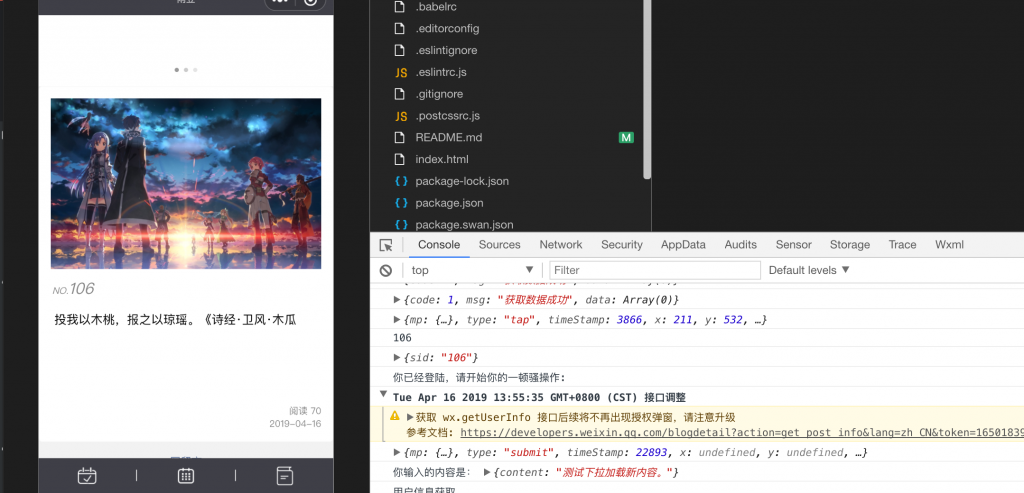
重新编译,下拉刷新一下,结果:

执行顺序,当前页面 -> 模板页面。
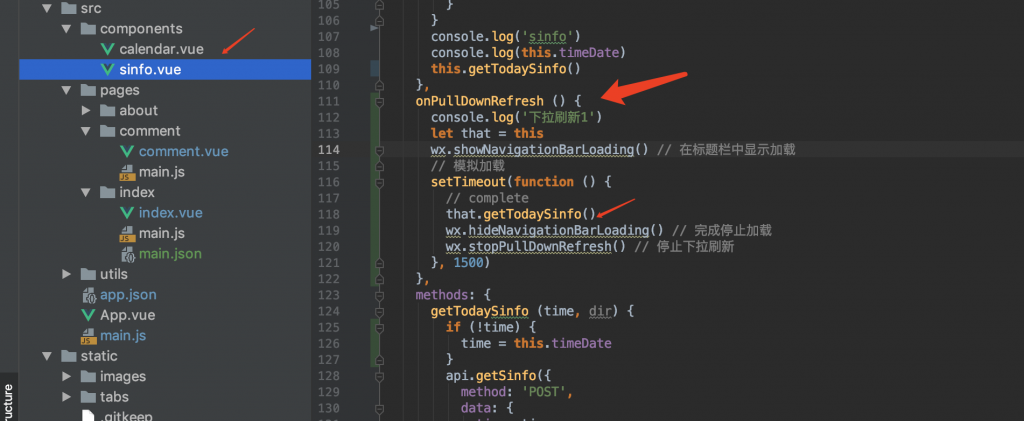
我们用模板sinfo.vue来测试下拉加载。
1 | onPullDownRefresh () { |
先去写留言,再返回首页,下拉加载。
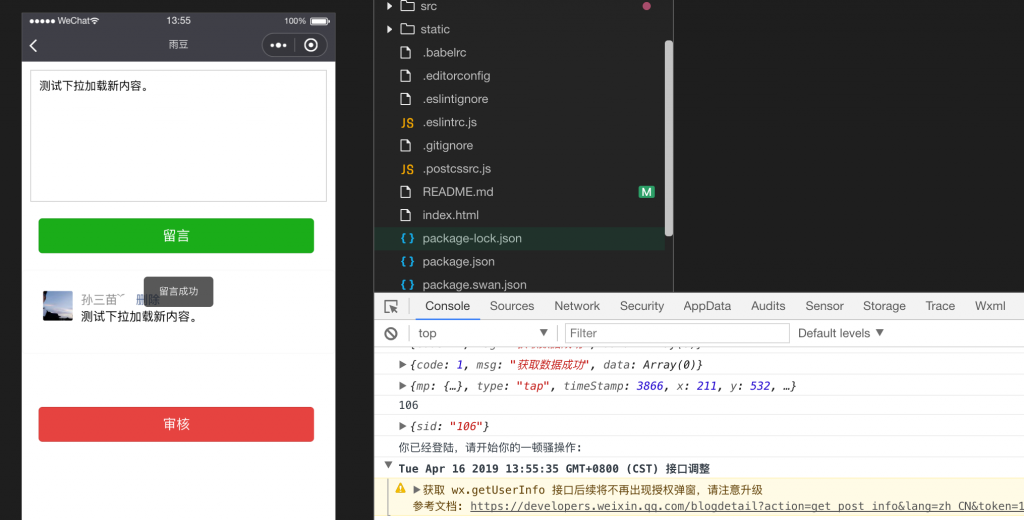
返点左上角返回是不会更新的:
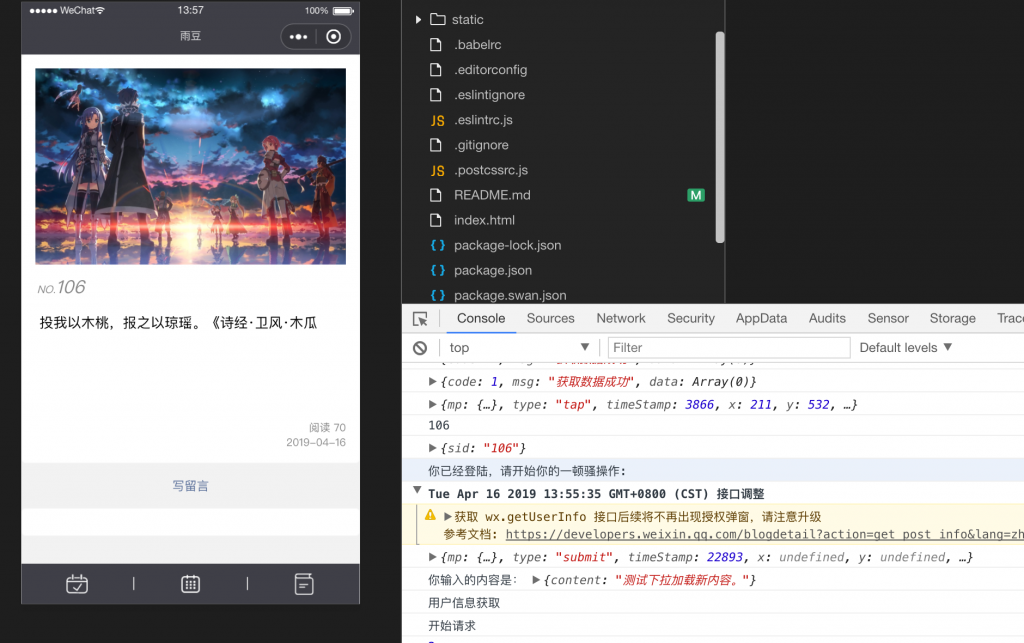
下拉一下:
下拉松手
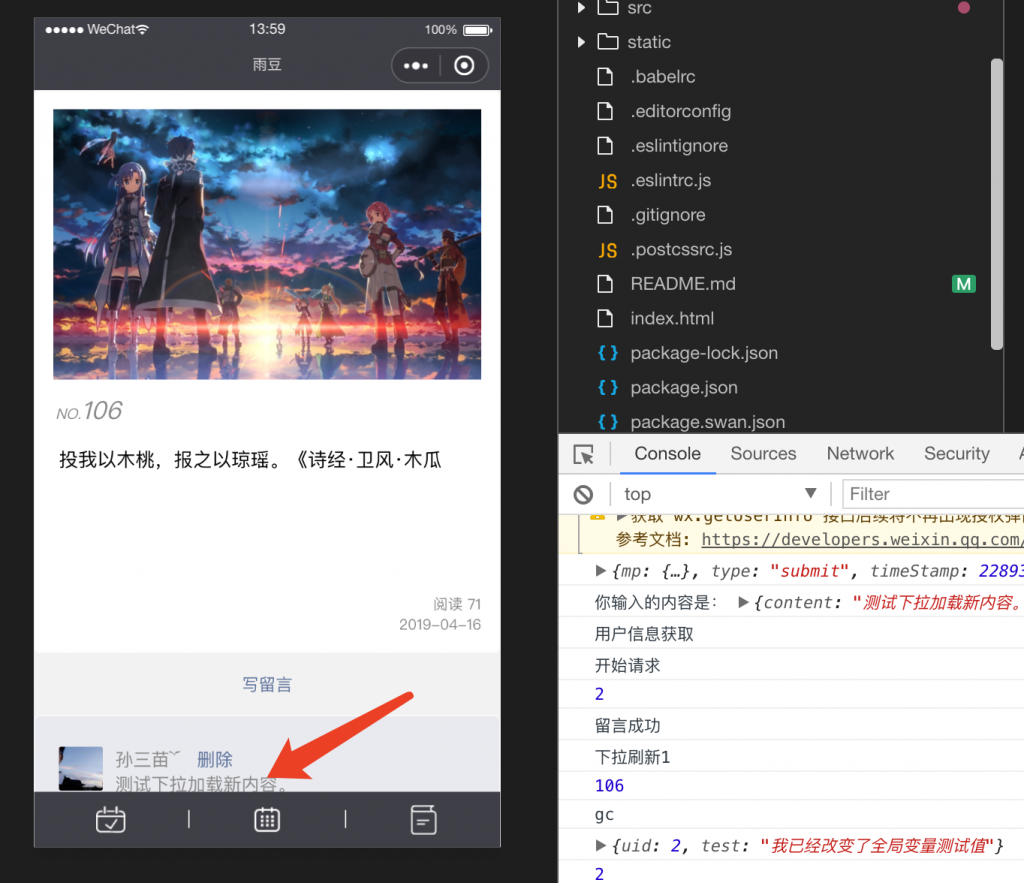
完美!
使用mpvue重构个人小程序(九)下拉刷新