使用ext_skel,实现一个PHP扩展
一、写在前面
本文是以PHP7.4 作为基础,讲解如何从零开始创建一个PHP扩展。本文主要讲解创建一个扩展的基本步骤都有哪些。示例中,我们将实现如下功能:
1 |
|
输出内容:
1 | $ php74 ./hello.php |
在扩展中实现一个hello 方法,调用hello 方法后,输出 hello word!。
二、生成代码
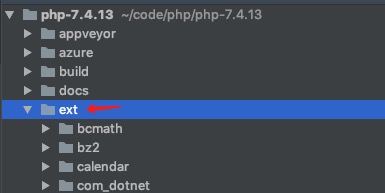
PHP为我们提供了生成基本代码的工具 ext_skel.php 。这个工具在PHP源代码的php-对应版本/ext/目录下。
输入命令 php ext_skel.php --ext_skel.php --ext hello --author sunct --std会出现以下效果:
1 |
|
如果不加参数--ext ,直接运行php ext_skel.php 则报Error错误。
1 |
|
在 ext目录下便生成 hello目录。
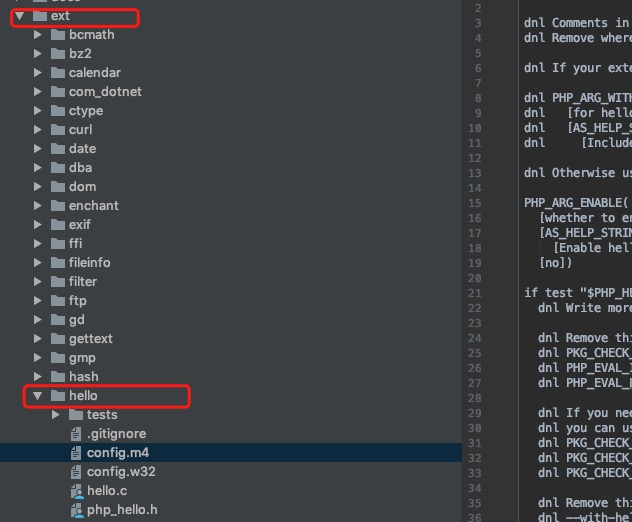
PHP 扩展由几个文件组成,这些文件对所有扩展来说都是通用的。不同扩展之间,这些文件的很多细节是相似的,只是要费力去复制每个文件的内容。幸运的是,有脚本可以做所有的初始化工作,名为 ext_skel,自 PHP 4.0 起与其一起分发。
以下是源包中的json 文件内容。
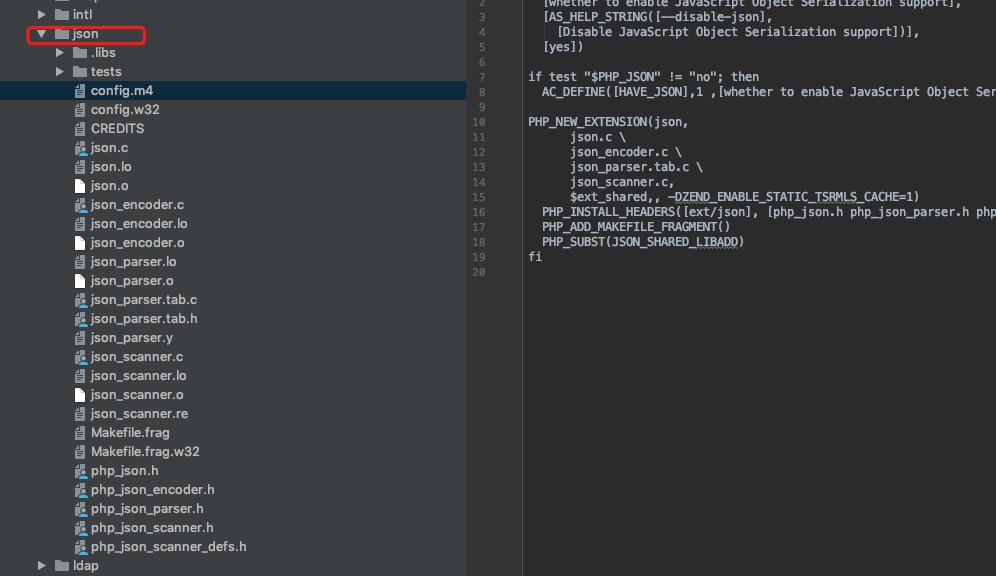
可选参数:
1 | OPTIONS |
通常来说,开发一个新扩展时,仅需关注的参数是 --ext name 和 --help。除非已经熟悉扩展的结构; 指定此参数会造成 ext_skel 不会在生成的文件里省略很多有用的注释。
剩下的 --ext name 会将扩展的名称传给 ext_skel。“name” 是一个全为小写字母的标识符,仅包含字母和下划线,在 PHP 发行包的 ext/ 文件夹下是唯一的。
三、修改config.m4配置文件
扩展的 config.m4 文件告诉 UNIX 构建系统哪些扩展 configure 选项是支持的,你需要哪些扩展库,以及哪些源文件要编译成它的一部分。对所有经常使用的 autoconf 宏,包括 PHP 特定的及 autoconf 内建的。
config.m4的作用就是配合phpize工具生成configure文件。configure文件是用于环境检测的。检测扩展编译运行所需的环境是否满足。现在我们开始修改config.m4文件。
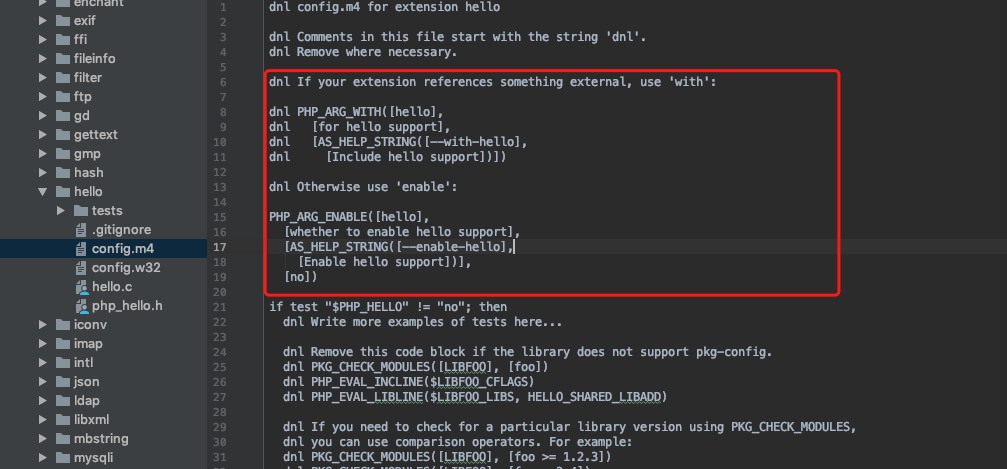
其中,dnl 是注释符号。
上面的代码说,如果你所编写的扩展如果依赖其它的扩展或者lib库,需要去掉PHP_ARG_WITH相关代码的注释。否则,去掉 PHP_ARG_ENABLE 相关代码段的注释。我们编写的扩展不需要依赖其他的扩展和lib库。因此,我们去掉PHP_ARG_ENABLE前面的注释。
上图生成的时候就已经指定是不依赖其他的扩展。
四、代码实现
修改hello.c文件。实现hello方法。
在执行 php ext_skel.php --ext hello 时,hello.c文件已经给我们生成了两个test方法:hello_test1和hello_test2。
文件生成代码:
1 | /* {{{ void hello_test1() |
其中:
执行函数
hello_test1()会输出The extension hello is loaded and working!,不可传参,否则echo hello_test1('这是一个参数');报Warning错误:PHP Warning: hello_test1() expects exactly 0 parameters, 1 given in /Users/sunct/code/php/hello.php on line 2;
执行函数
hello_test2()会输出Hello World,并且该函数可传参hello_test2('这是一个参数'),输出:Hello 这是一个参数
我们可以仿照写一个 hello 函数,放到函数PHP_FUNCTION(hello_test2)后面:
1 | /*新增函数*/ |
用来输出 hello word
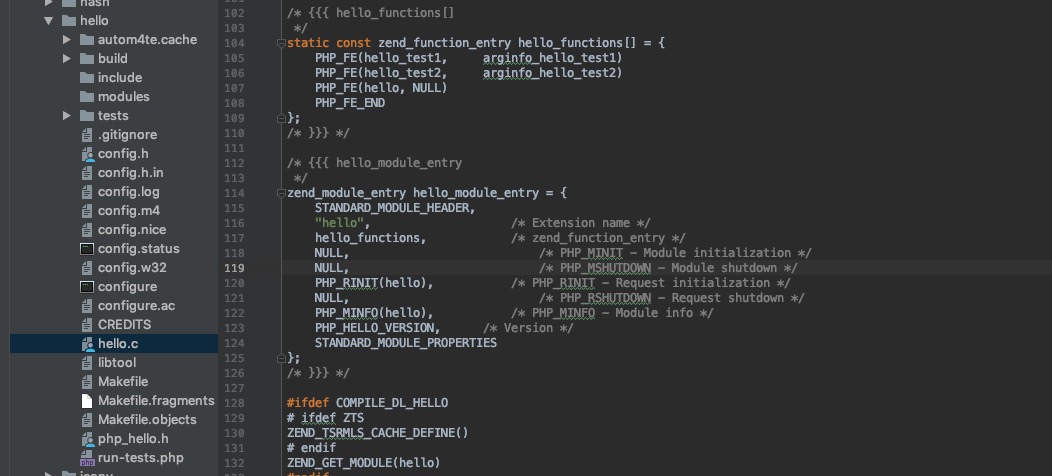
找到 PHP_FE_END 在上面增加如下代码:
1 | PHP_FE(hello, NULL) |
如图所示:

五、编译安装
1 | cd hello/ |

其中:
./configure根据自己环境的情况加参数即可。
为了便于测试我使用:`./configure --prefix=/usr/local/php7 --without-iconv --with-apxs2 --enable-fpm --with-config-file-path=/usr/local/php7/etc;
修改php.ini文件,增加如下代码:
1 | extension = say.so |
执行:
1 | php -m |
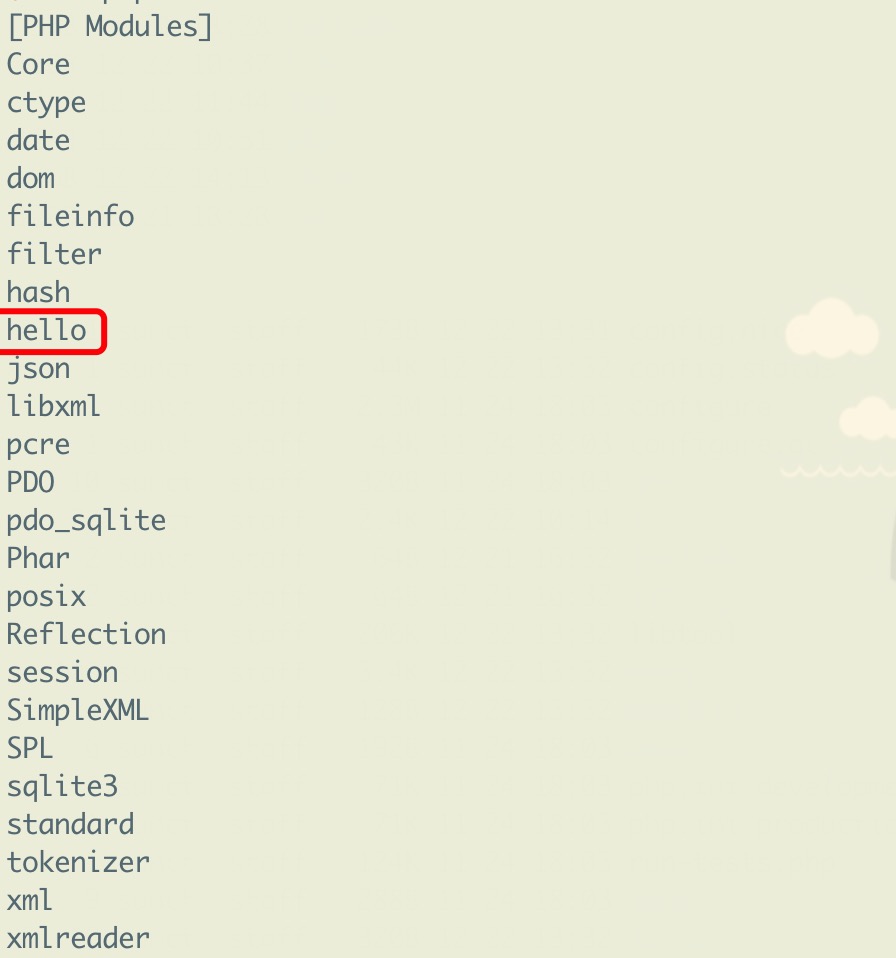
如果没有出现hello,在使用当前PHP时,会出现以下Warning错误:
1 | PHP Warning: PHP Startup: Unable to load dynamic library 'hello.so' (tried: /usr/local/php7/lib/php/extensions/no-debug-non-zts-20190902/hello.so (dlopen(/usr/local/php7/lib/php/extensions/no-debug-non-zts-20190902/hello.so, 9): image not found), /usr/local/php7/lib/php/extensions/no-debug-non-zts-20190902/hello.so.so (dlopen(/usr/local/php7/lib/php/extensions/no-debug-non-zts-20190902/hello.so.so, 9): image not found)) in Unknown on line 0 |
这说明/usr/local/php7/lib/php/extensions/no-debug-non-zts-20190902/hello.so 文件不存在,我们可以手动把生成的hello.so移到这里。
在我们开始编译开始执行后·,hello 文件夹下生成modules文件夹,里面就已生成hello.so
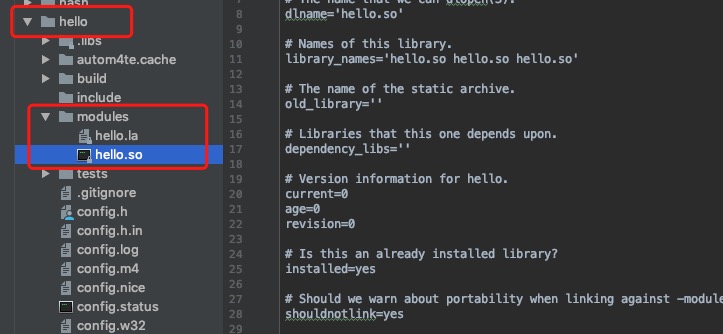
移到文件:
1 | sudo cp ~/code/php/php-7.4.13/ext/hello/modules/hello.so /usr/local/php7/lib/php/extensions/no-debug-non-zts-20190902/hello.so |
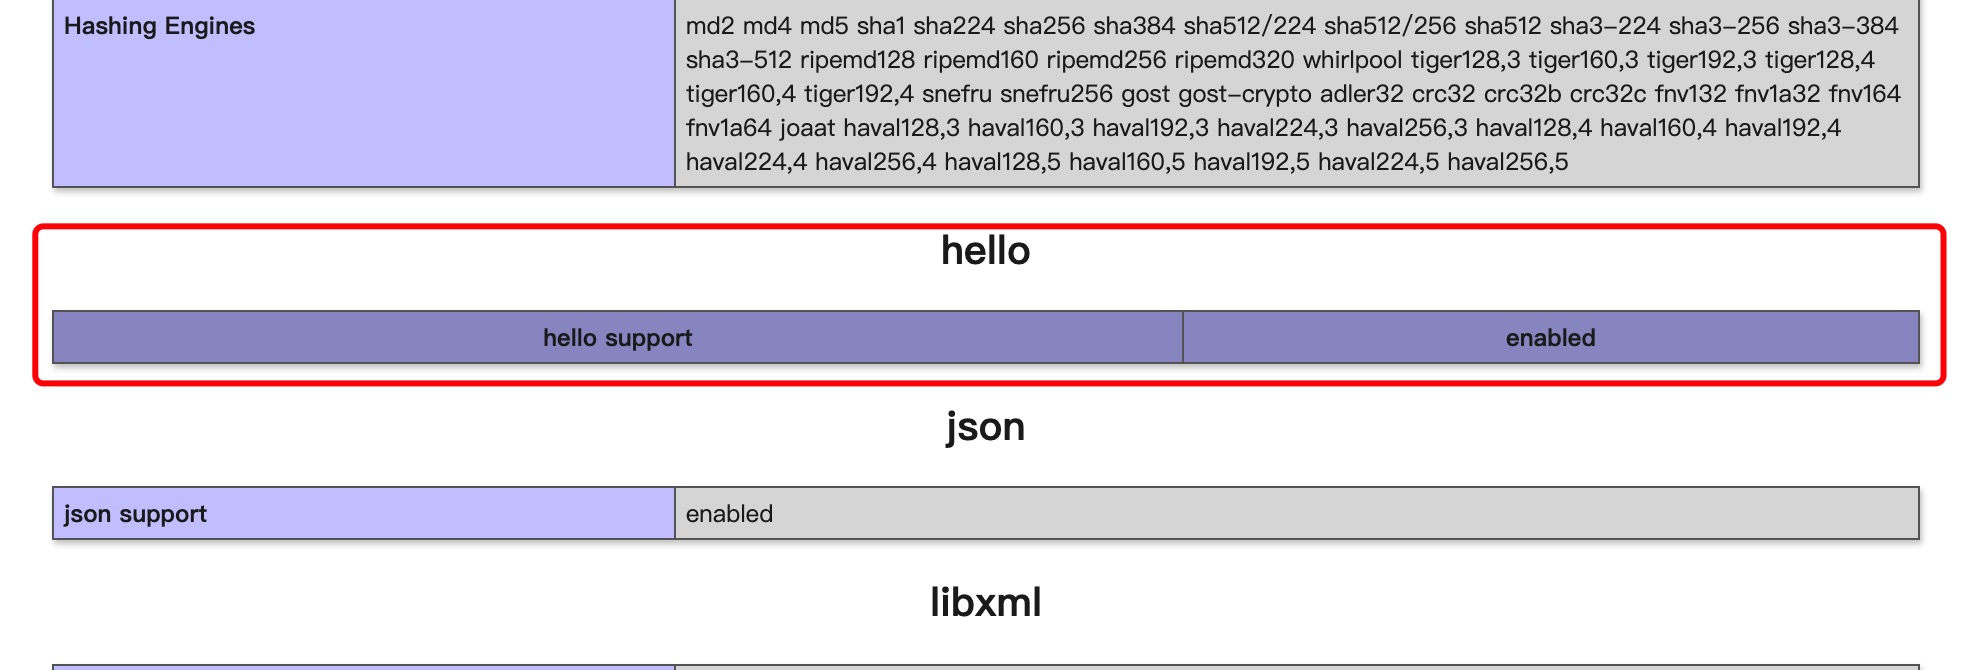
查看phpinfo():

六、调用测试
写一个PHP文件,调用hello方法。看输出的内容是否符合预期。
结果如下:
1 |
|

七、※ 剖析文件
1、config.m4
UNIX构建系统配置
2、config.w32
Windows构建系统配置
3、php_hello.h
当将扩展作为静态模块构建到PHP二进制文件中时,构建系统将期望php_ 在扩展名之前添加一个头文件,该头文件包括一个指向扩展模块结构的指针的声明。就像任何标头一样,此文件通常包含其他宏,原型和全局变量。
4、hello.c
主扩展源文件。按照惯例,该文件的名称是扩展名,但这不是必需的。该文件包含模块结构声明、INI条目、管理函数、用户空间函数和扩展的其他要求。
PHP扩展的主要源文件包含C程序的一些结构。其中最重要的是zend_module结构,这是开始写一个新扩展时最先接触的。该结构包含大量信息,这些信息告诉Zend Engine扩展的依赖项,版本,回调和其他关键数据。
1 | /* {{{ hello_module_entry |
模块结构字段值
| Field(字段) | Value(值) | Description(描述) |
|---|---|---|
| size [1][2][3] | sizeof(zend_module_entry) | 结构的字节大小。 |
| zend_api [1][2][3] | ZEND_MODULE_API_NO | 此模块针对的Zend API版本。 |
| zend_debug [1][2][3] | ZEND_DEBUG | 指示模块是否在调试打开的情况下进行编译的标志。 |
| zts [1][2][3] | USING_ZTS | 指示模块是否在启用ZTS(TSRM)的情况下进行编译的标志(请参阅内存管理)。 |
| ini_entry [1][3] | null | Zend在内部使用此指针来保持对模块声明的任何INI条目的非本地引用。 |
| deps[3] | null | 指向模块依赖关系列表的指针。 |
| name | "mymodule" | 模块的名称。这是简称,例如"spl"或"standard"。 |
| functions | mymodule_functions | 指向模块功能表的指针,Zend使用该指针将模块中的功能公开给用户空间。 |
| module_startup_func | PHP_MINIT(mymodule) | Zend将在模块第一次加载到PHP的特定实例时调用的一个回调函数。 |
| module_shutdown_func | PHP_MSHUTDOWN(mymodule) | 通常在最终关闭期间的一个回调函数,当模块从特定PHP实例卸载时,Zend将调用该函数。 |
| request_startup_func | PHP_RINIT(mymodule) | Zend将在每个请求开始时调用一个回调函数。这个函数应该尽可能的短或者为空,因为调用这个函数对每个请求都有代价。 |
| request_shutdown_func | PHP_RSHUTDOWN(mymodule) | Zend将在每个请求结束时调用的个回调函数。这个函数应该尽可能的短或者为空,因为调用这个函数对每个请求都有代价。| |
| info_func | PHP_MINFO(mymodule) | Zend将在调用`phpinfo()`函数时调用的回调函数。 |
| version | NO_VERSION_YET | 给出模块版本的字符串,由模块开发人员指定。建议版本号采用`version_compare()`期望的格式(例如"1.0.5-dev")或CVS或SVN修订号(例如"$Rev: 322138 $")。 |
| globals_size [1][4][5][6] | sizeof(zend_mymodule_globals) | 包含模块全局变量的数据结构的大小(如果有)。 |
| globals_id_ptr [1][4][5][6][7] | &mymodule_globals_id | 这两个字段中只有一个字段存在,具体取决于USING_ZTS常量是否为真。前者是TSRM分配表中模块全局变量的索引,后者是直接指向全局变量的指针。 |
| globals_ptr [1][4][5][6][8] | &mymodule_globals_id | |
| globals_ctor [4][5][6] | PHP_GINIT(mymodule) | 调用这个函数是为了在 `module_startup_func`之前初始化模块的全局变量。 |
| globals_dtor [4][5][6] | PHP_GSHUTDOWN(mymodule) | 这个函数被调用是为了在`module_shutdown_func`之后释放模块的全局变量。 |
| post_deactivate_func [4] | ZEND_MODULE_POST_ZEND_DEACTIVATE_N(mymodule) | 这个函数在请求关闭后由Zend调用。很少被使用。 |
| module_started [1][9][4] | 0 | 这些字段用于Zend的内部跟踪信息。 |
| type [1][9][4] | 0 | |
| handle [1][9][4] | null | |
| module_number [1][9][4] | 0 |
使用ext_skel,实现一个PHP扩展


